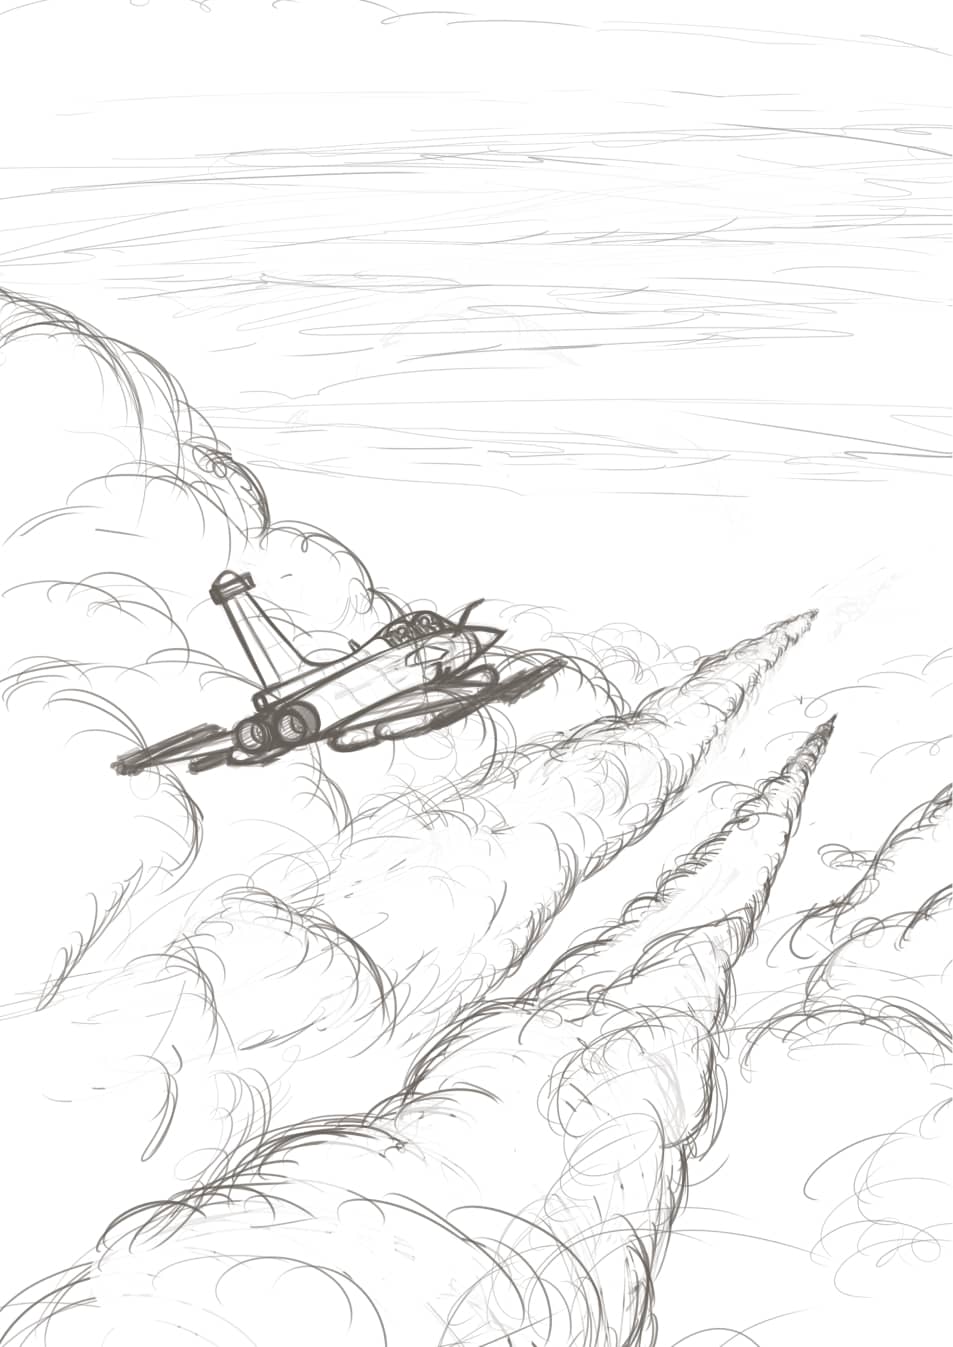
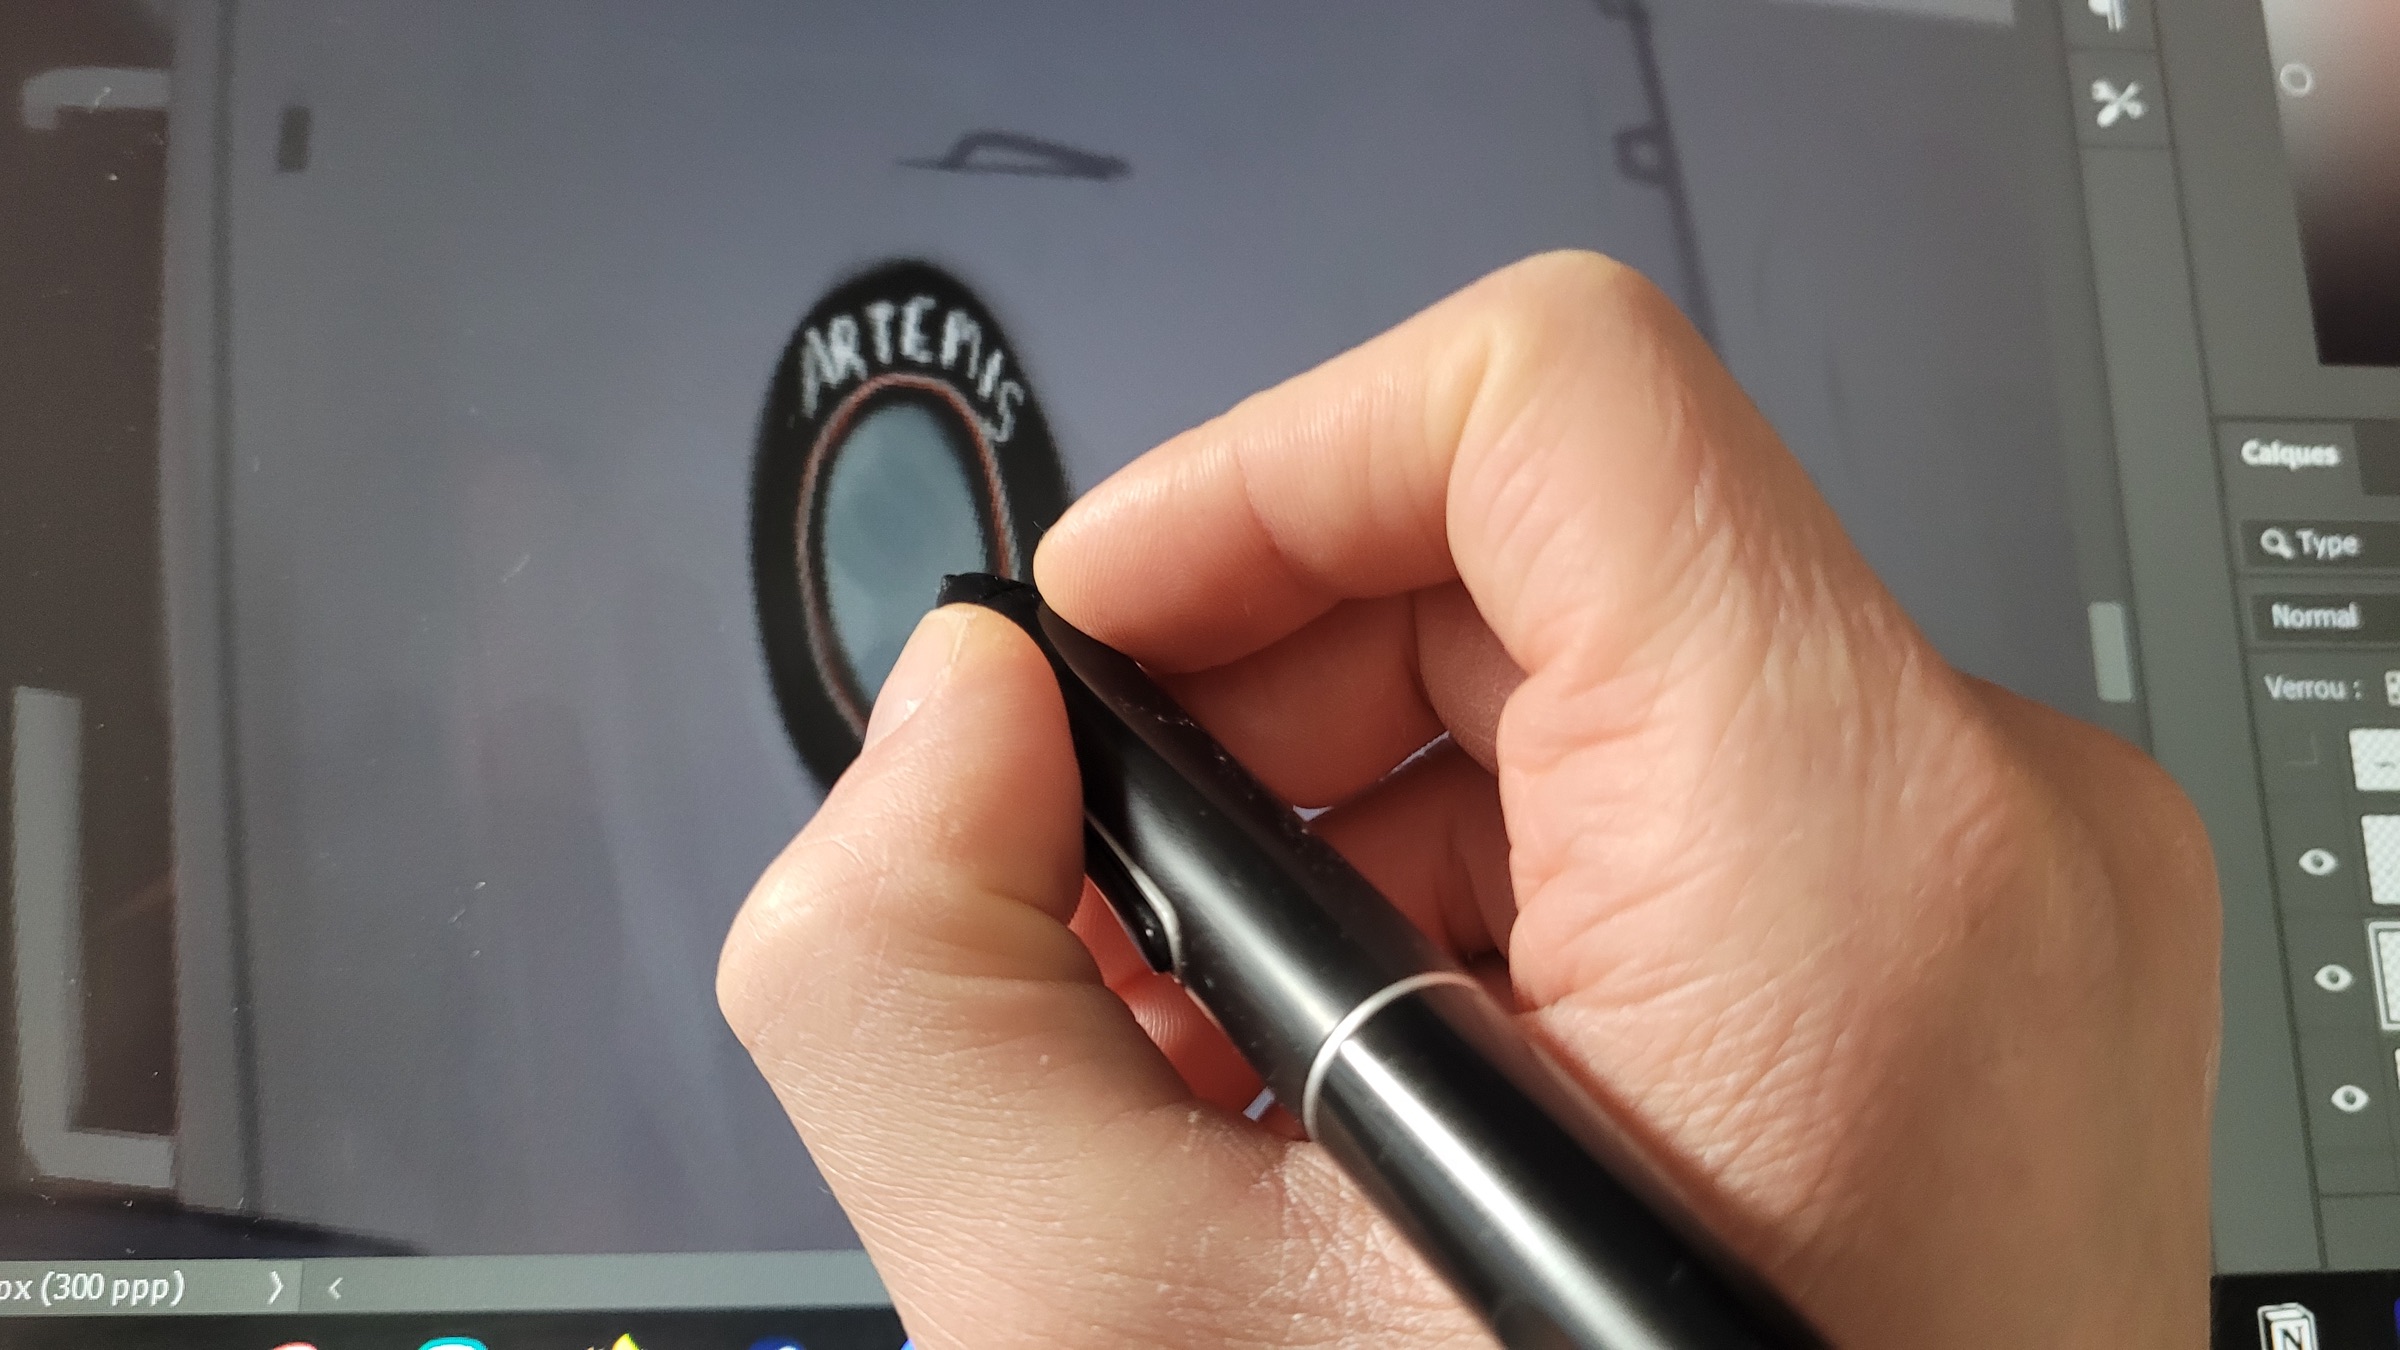
There is no better way to begin a work than with sketches to position your subject in space and on the canvas.
The specific format of these sketches depends on each artist. There are no real rules. Some artists make pencil sketches on Post-it notes so as not to get bogged down in details at this stage and can focus on the composition. Others use thumbnails and work more with large brushes to work on the values. That is what I essentially do. For my part, I usually trust the idea I have in mind by starting sketches directly into the final canvas. I love drawing at this stage because imagination can run wild and there are no fear of bad rendering. For the publishing world in particular, I usually work on sketches with the main colors already. The idea is to show the client the dominant colors of their cover very early on, not to figure details.
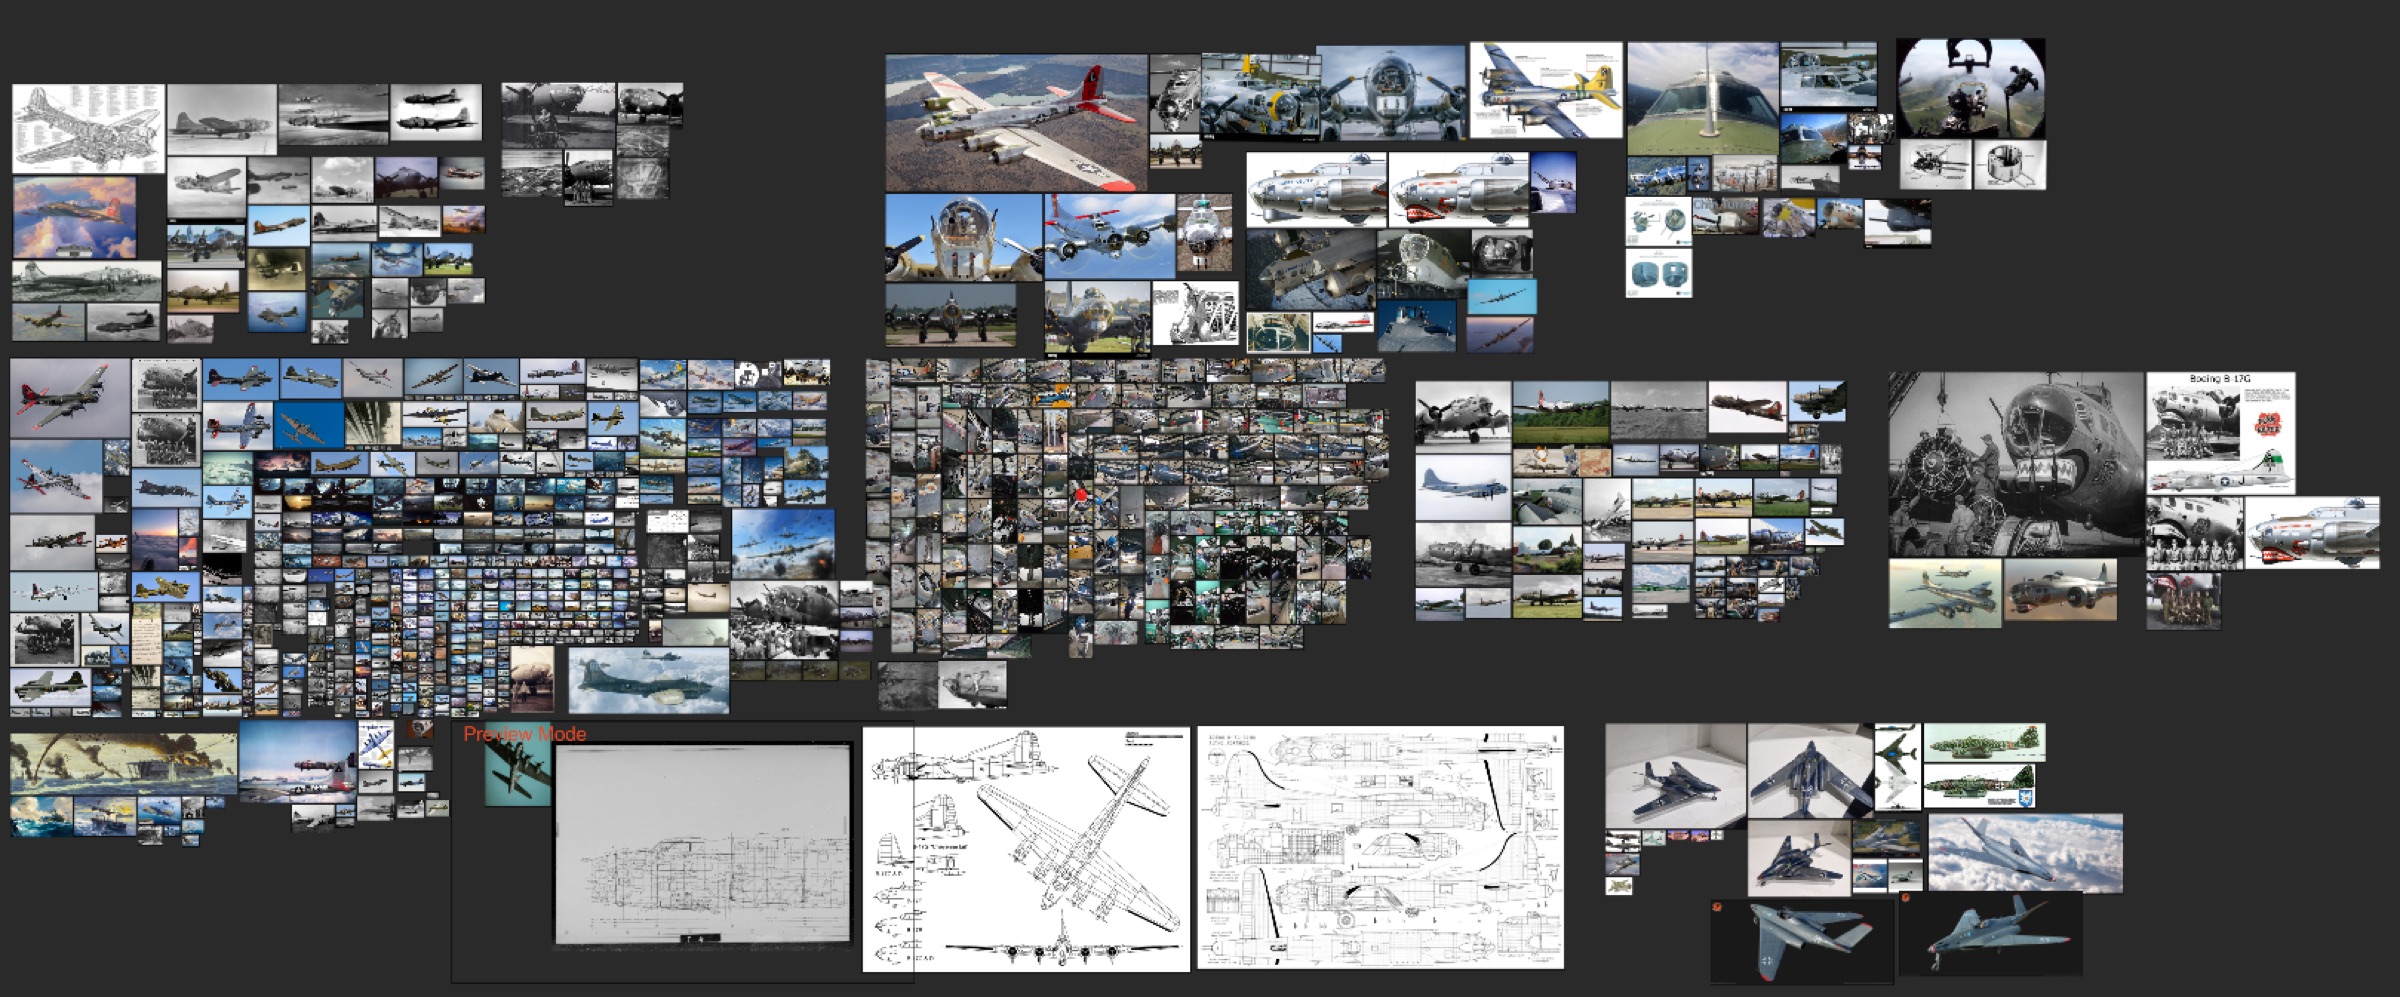
It is also at this stage that I assemble, if necessary, a solid reference library with numerous archive photos, 3D visuals, paintings by other artists dealing with more or less the same subject, or other diverse sources of inspiration. Over time, I have compiled an exhaustive collection of photos on my favorite subjects in dedicated, ready-to-use mood boards. I use PureRef to group them and zoom in as needed.
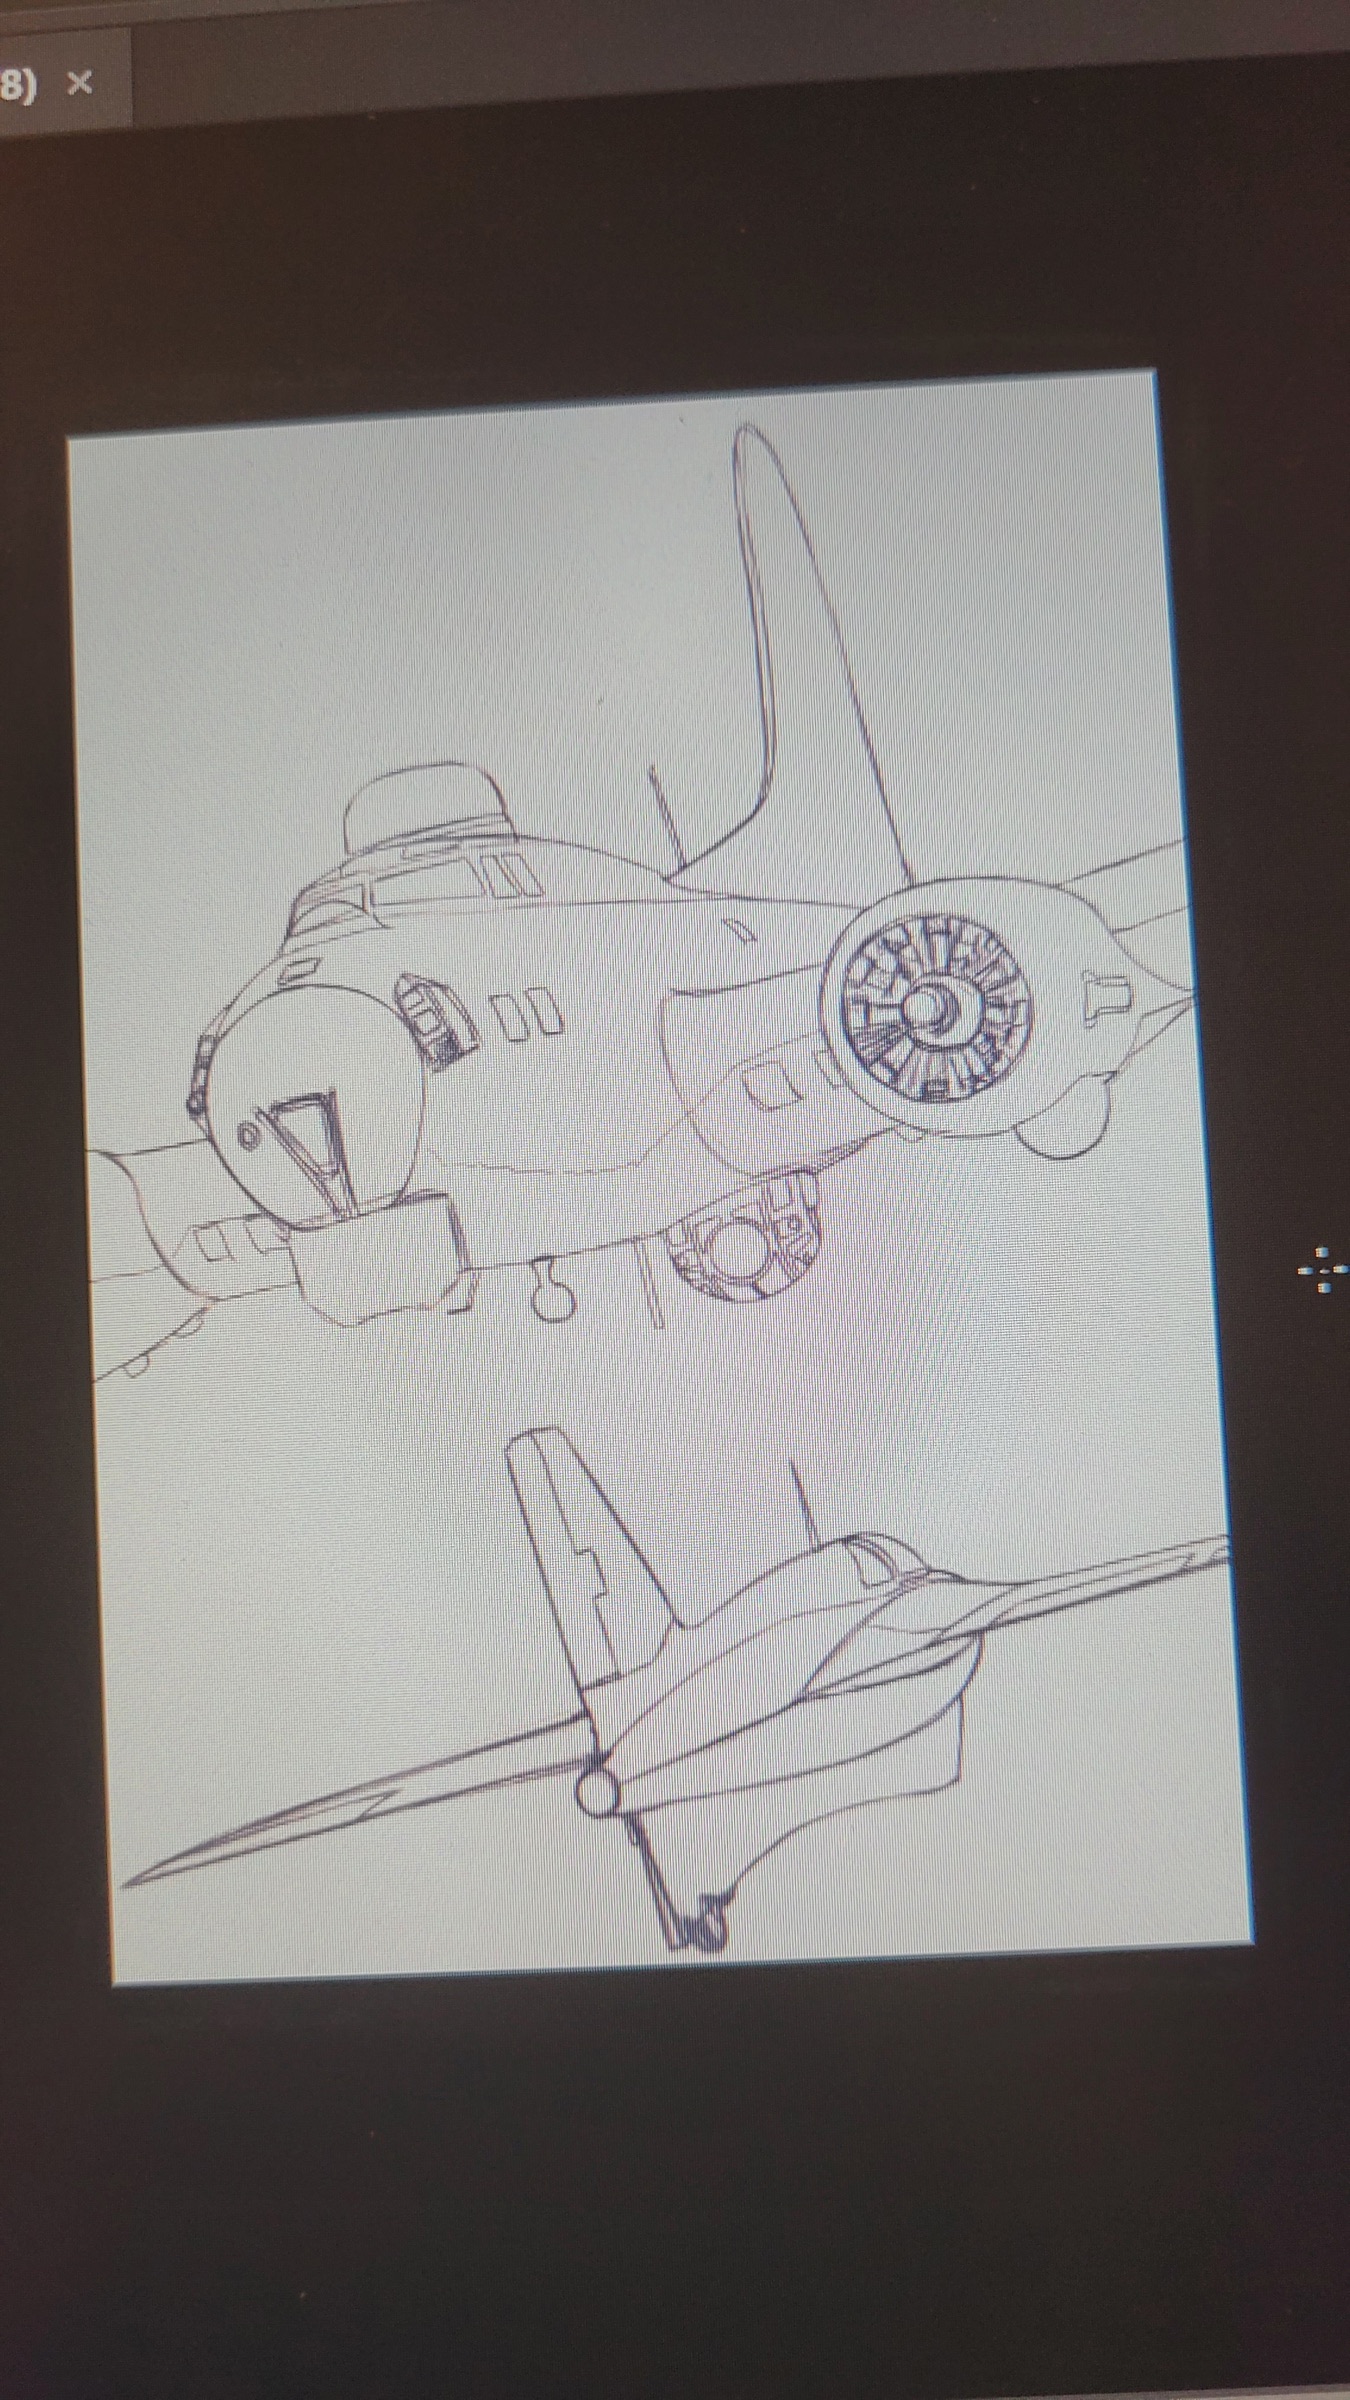
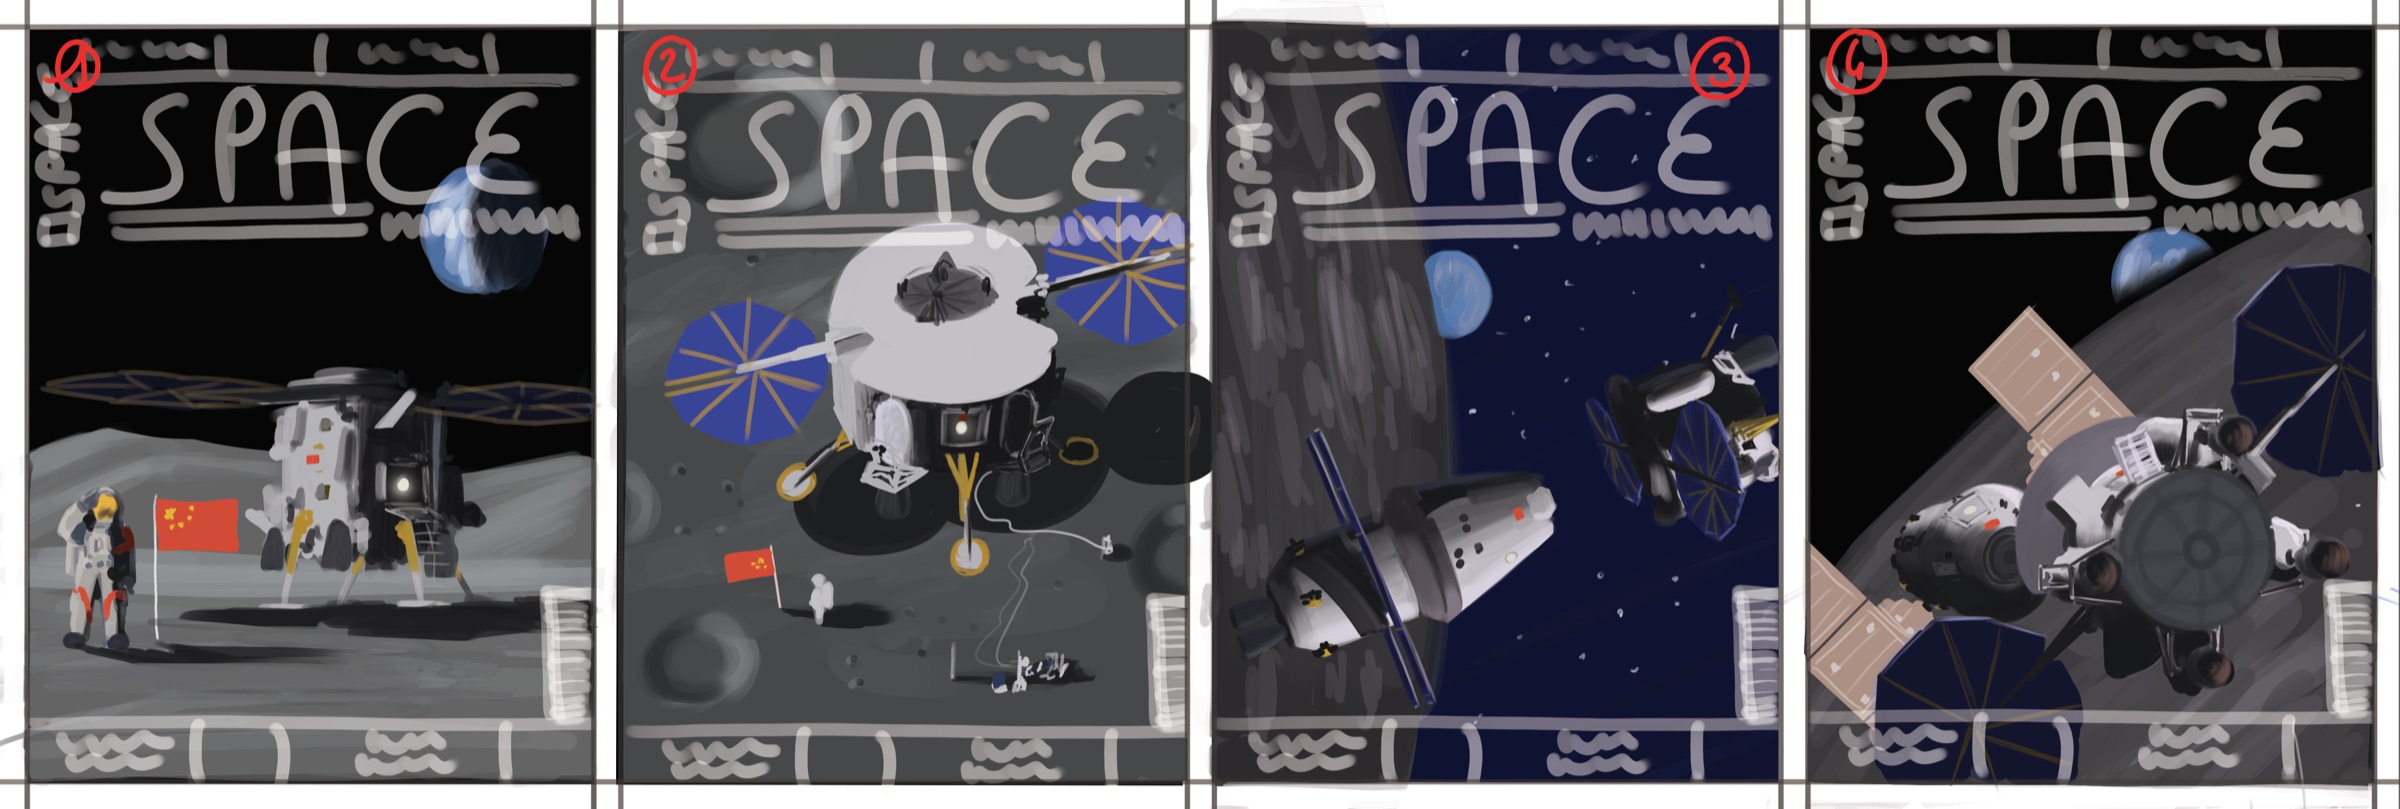
Once the initial sketches have been completed, I select the one I like best (or the one the client chooses, of course) to make a clean sketch, which I call the final sketch. This will then serve as the precise basis for the final painting. I do not neglect this step, because I know by experience that a precise final croquis is especially important regarding a good and realist perspective. And once the colorization and rendering is finished, it is often too late to correct such a mistake! A clean final sketch is thus potentially a considerable time saver. And again, I love this step: drawing feels very natural to me. (1)
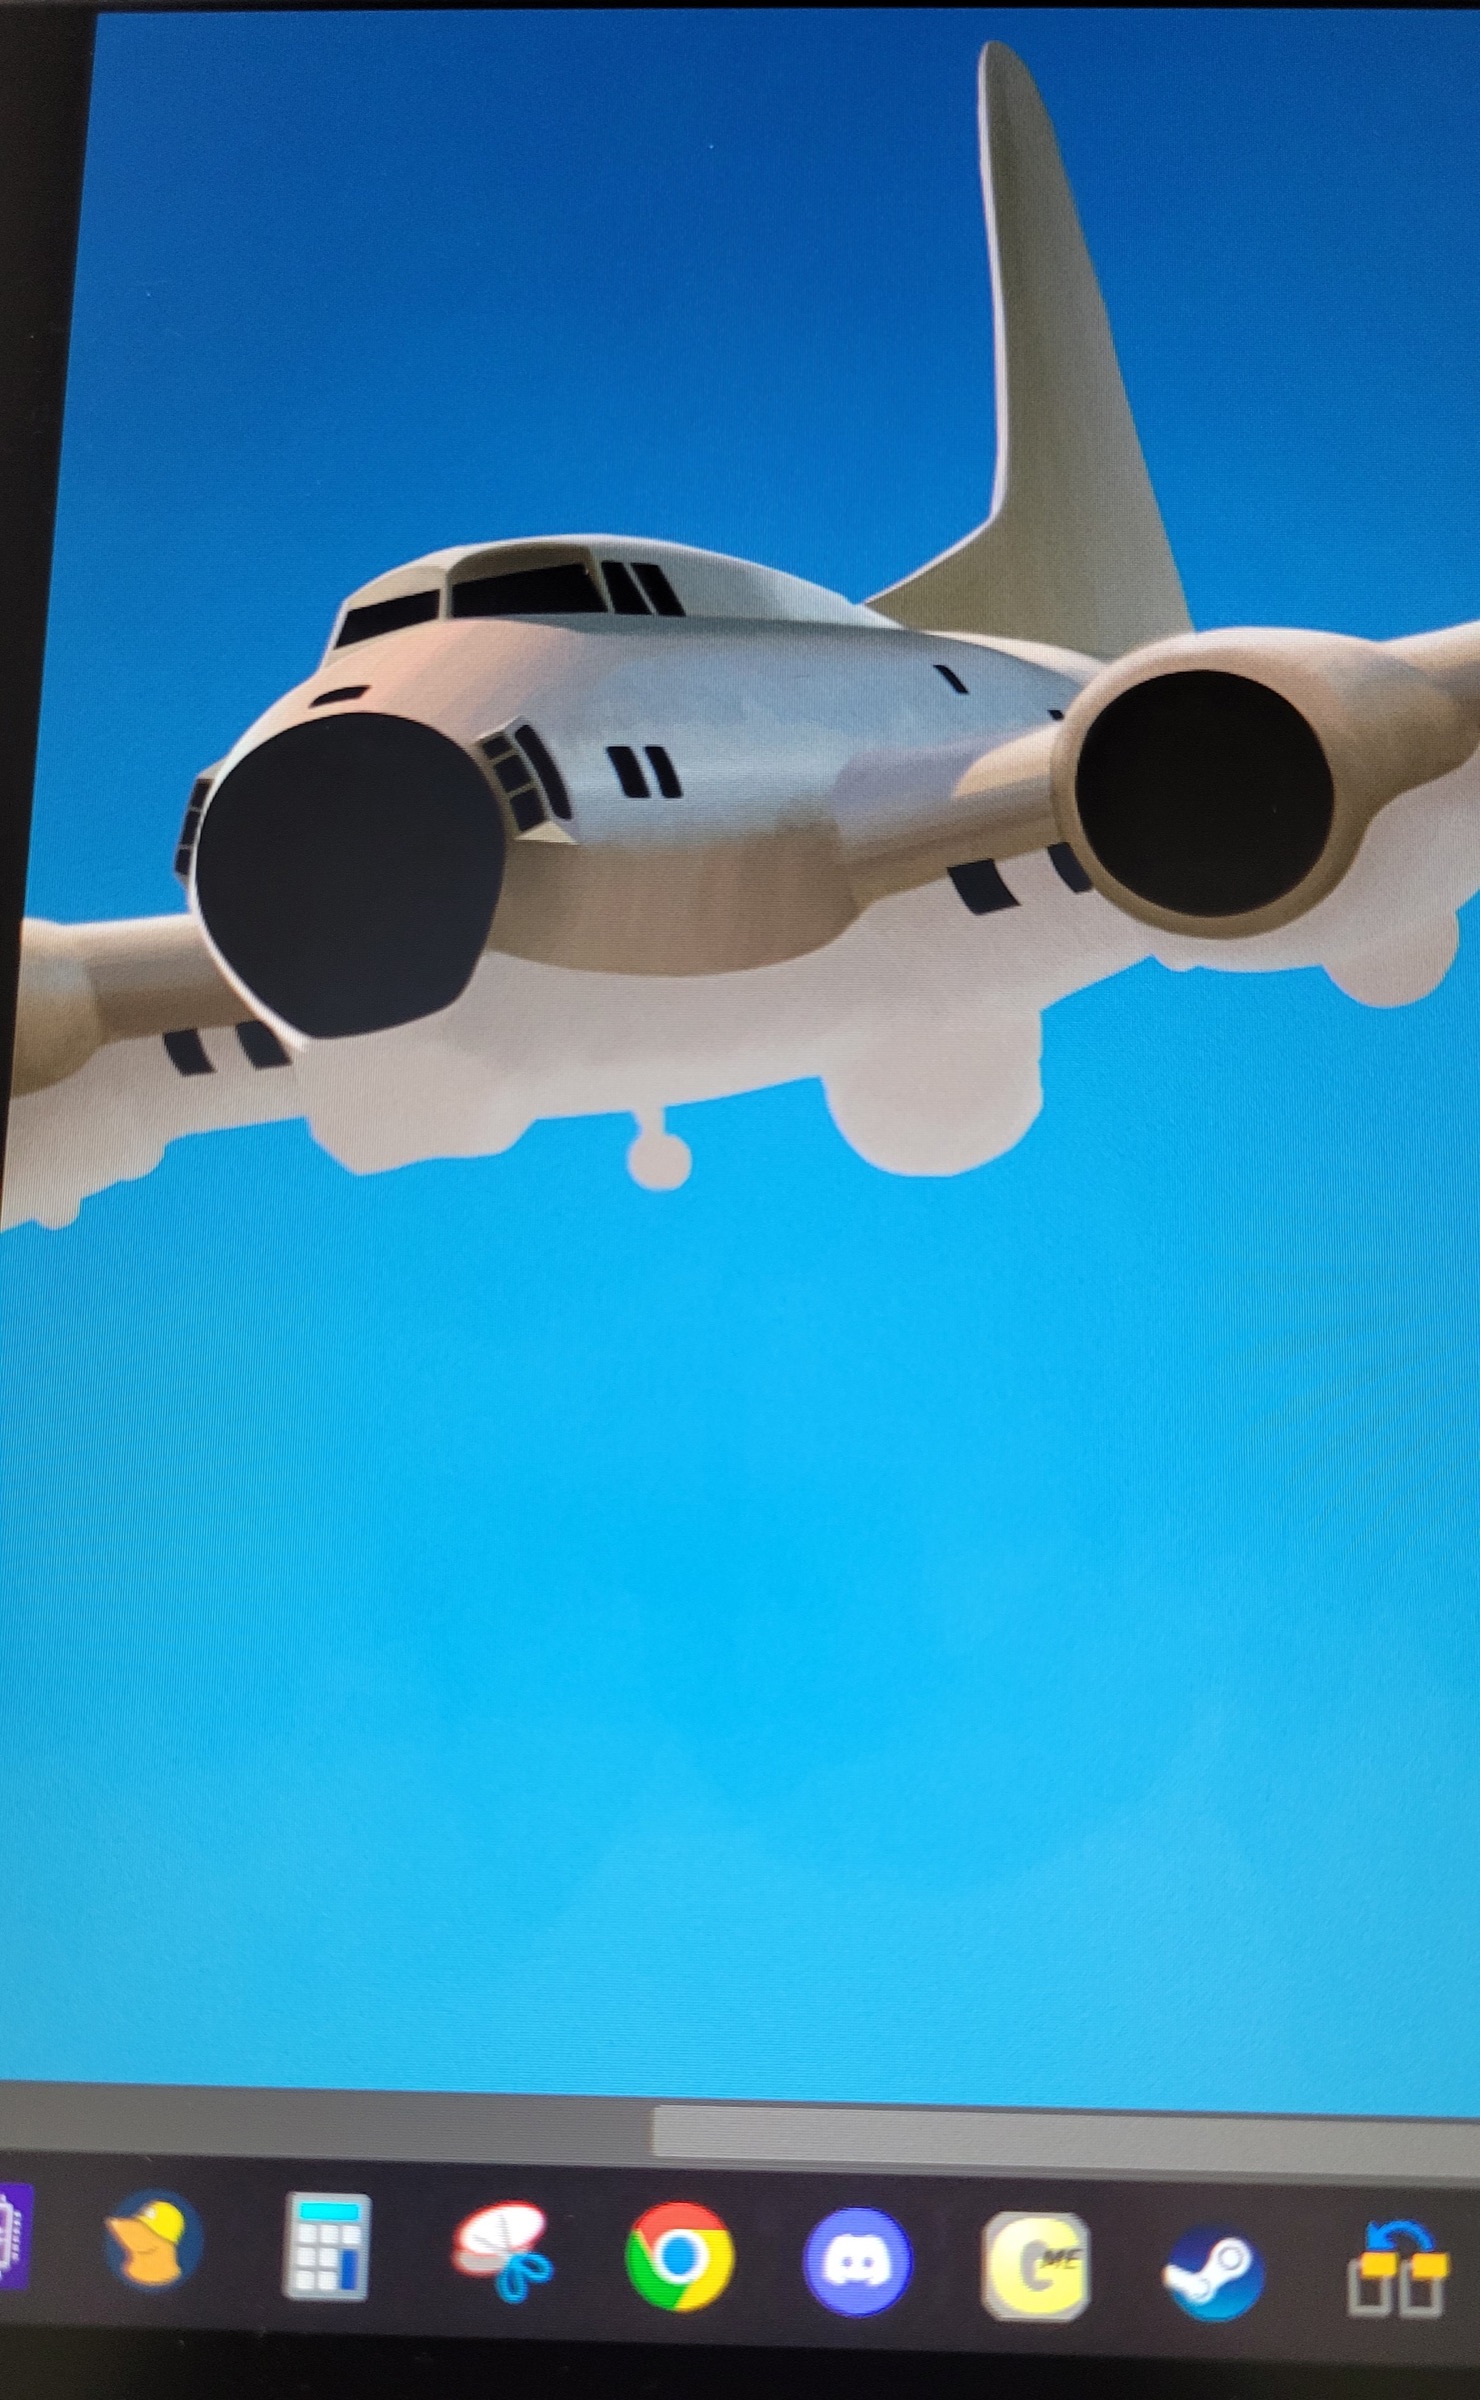
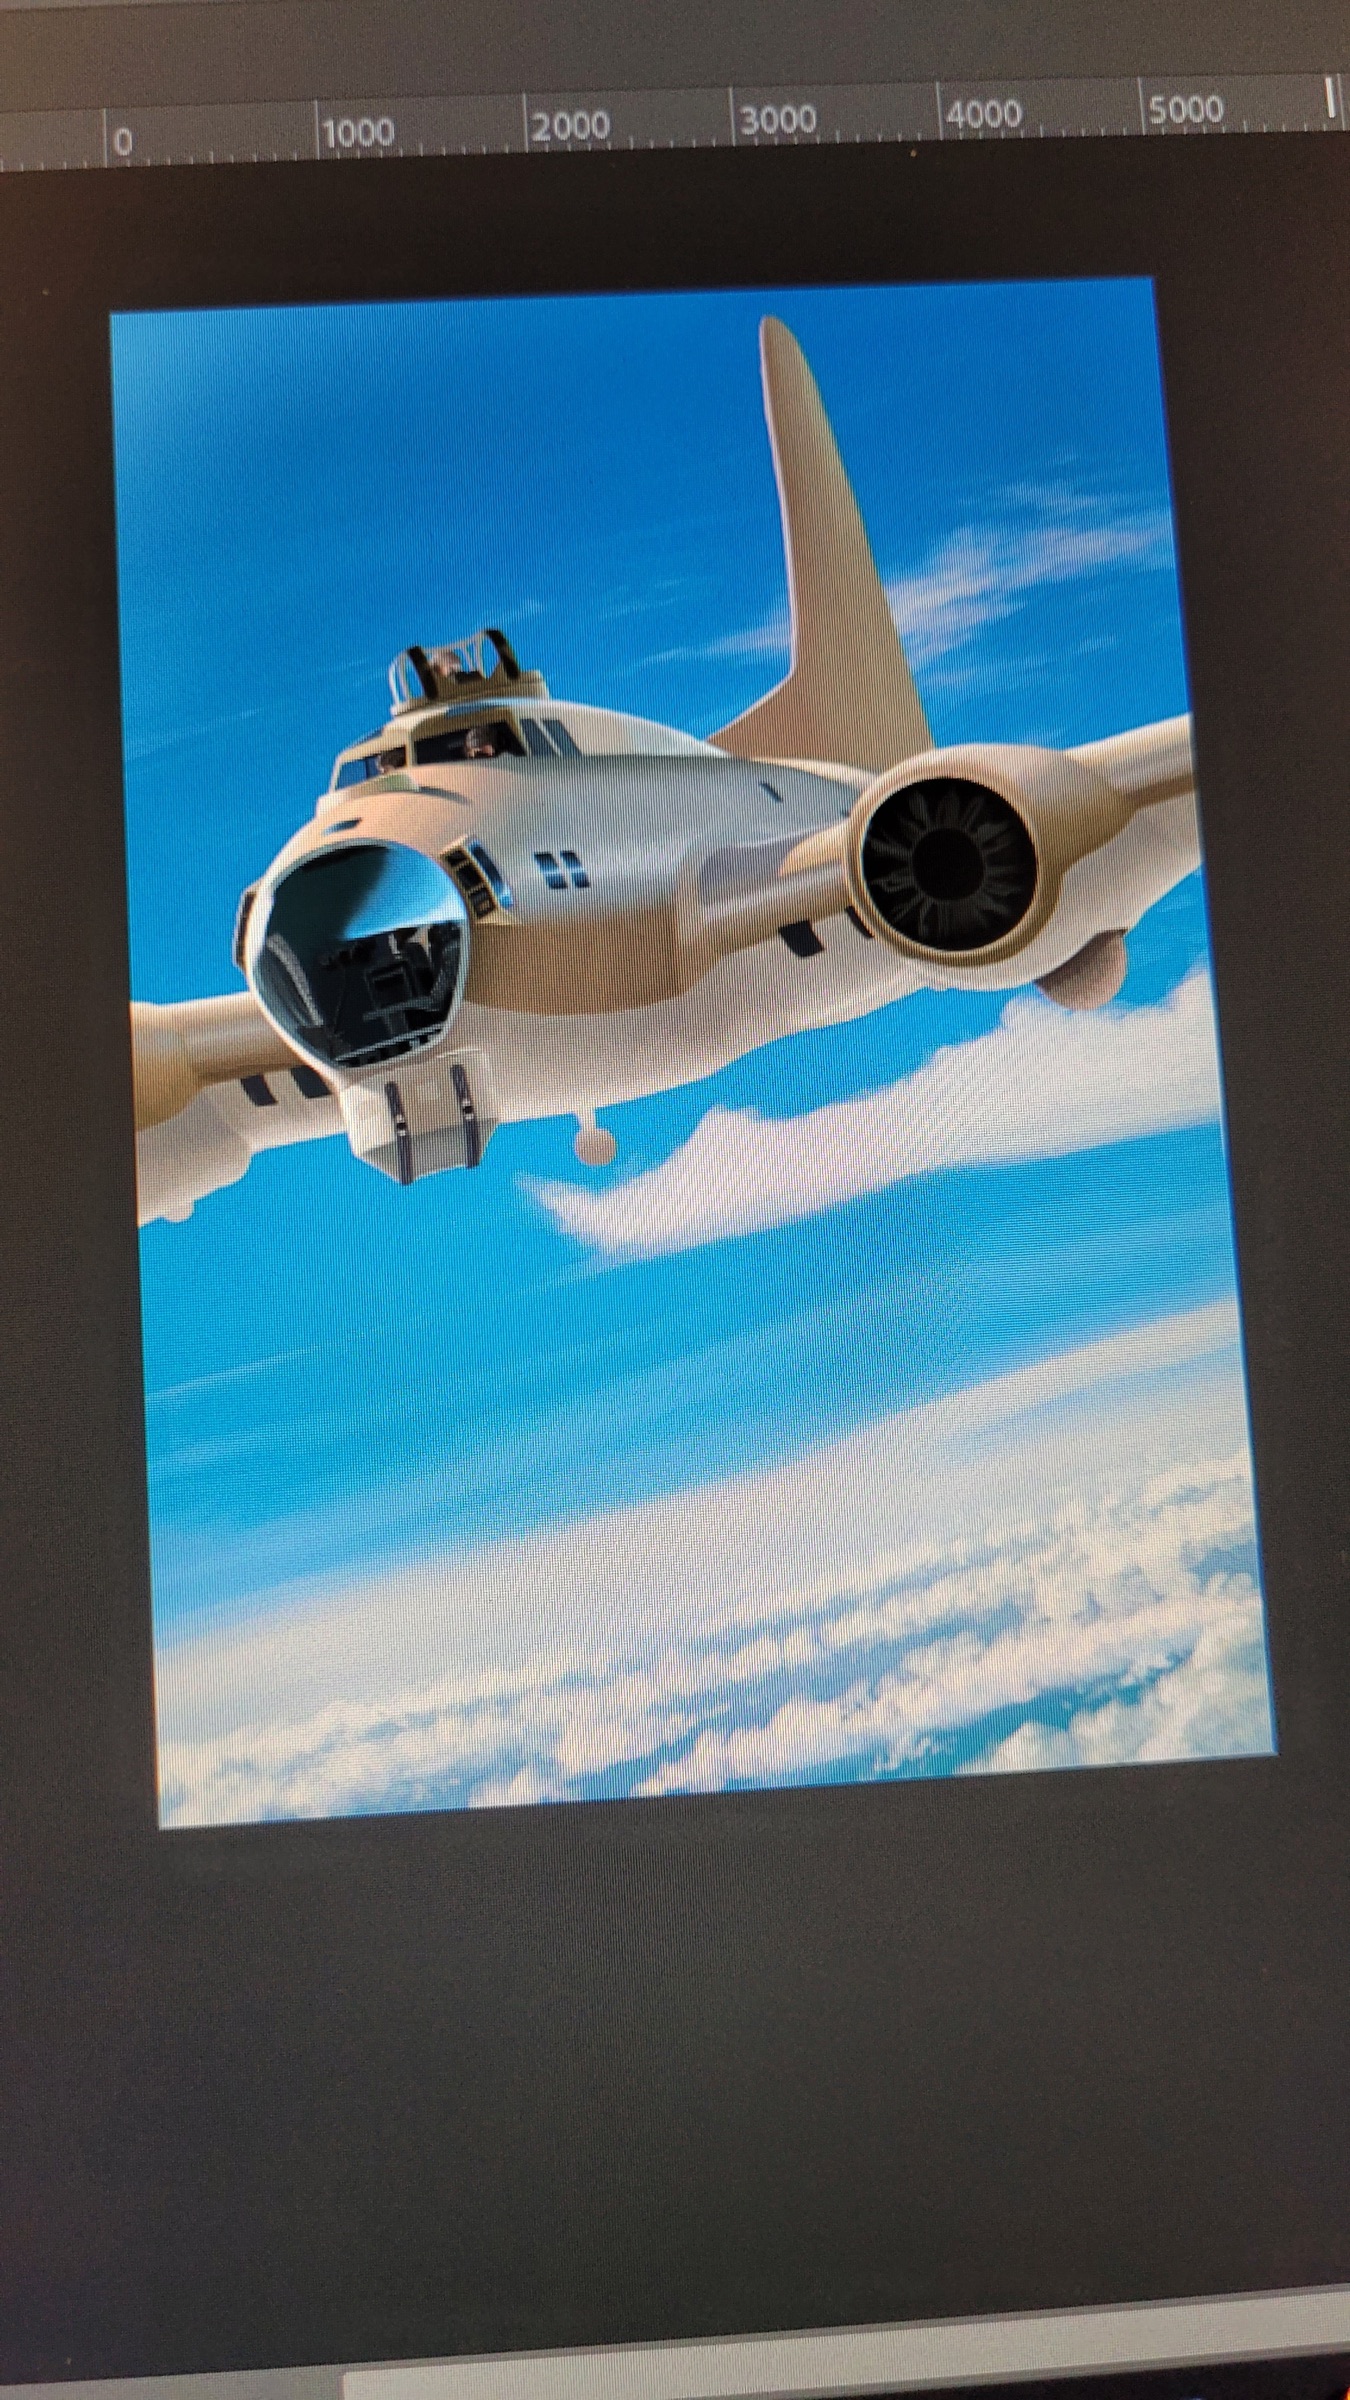
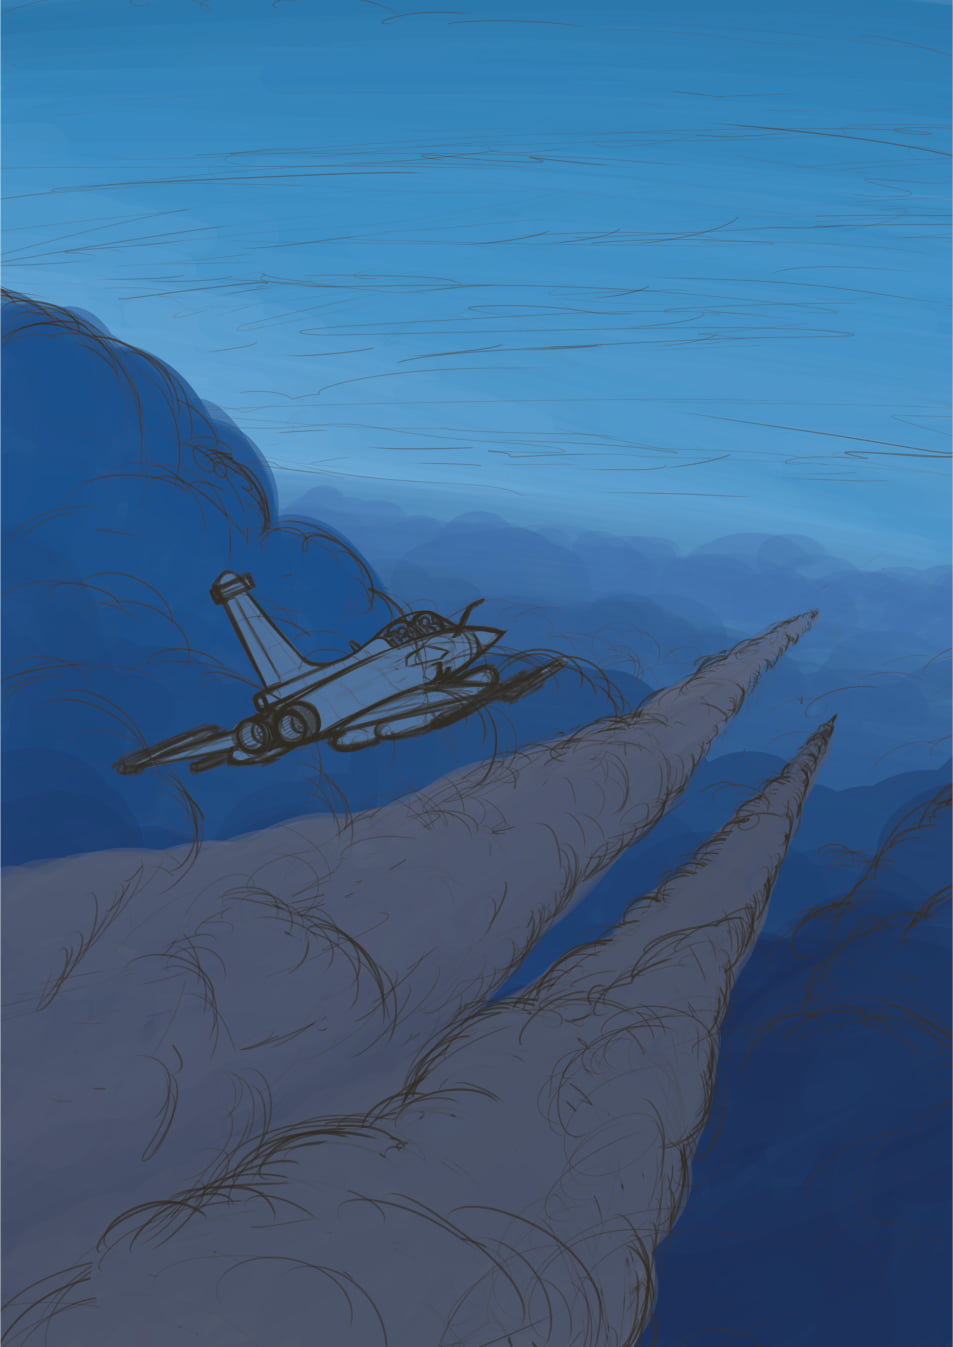
Once the final sketch is complete - and approved by the client if necessary - it's time to start coloring. I begin with large blocks of color, trying to figure the main elements of the painting. Then I add the first color variations to figure light and shadows, first on a rough way, then on a more precise manner following closely shapes of my final sketch. The subject of the painting gradually reveals itself, first still with the sketch layer on, then without. I have to admit that this step has often been difficult for me. Not in technical terms - I observe a lot how light and shadows work - but more on morale grounds! At this stage, the painting is still very much under construction: shapes are rough, there are no details nor surface texturing. We must stay the course and not be discouraged by what still looks like a rough draft! (2)
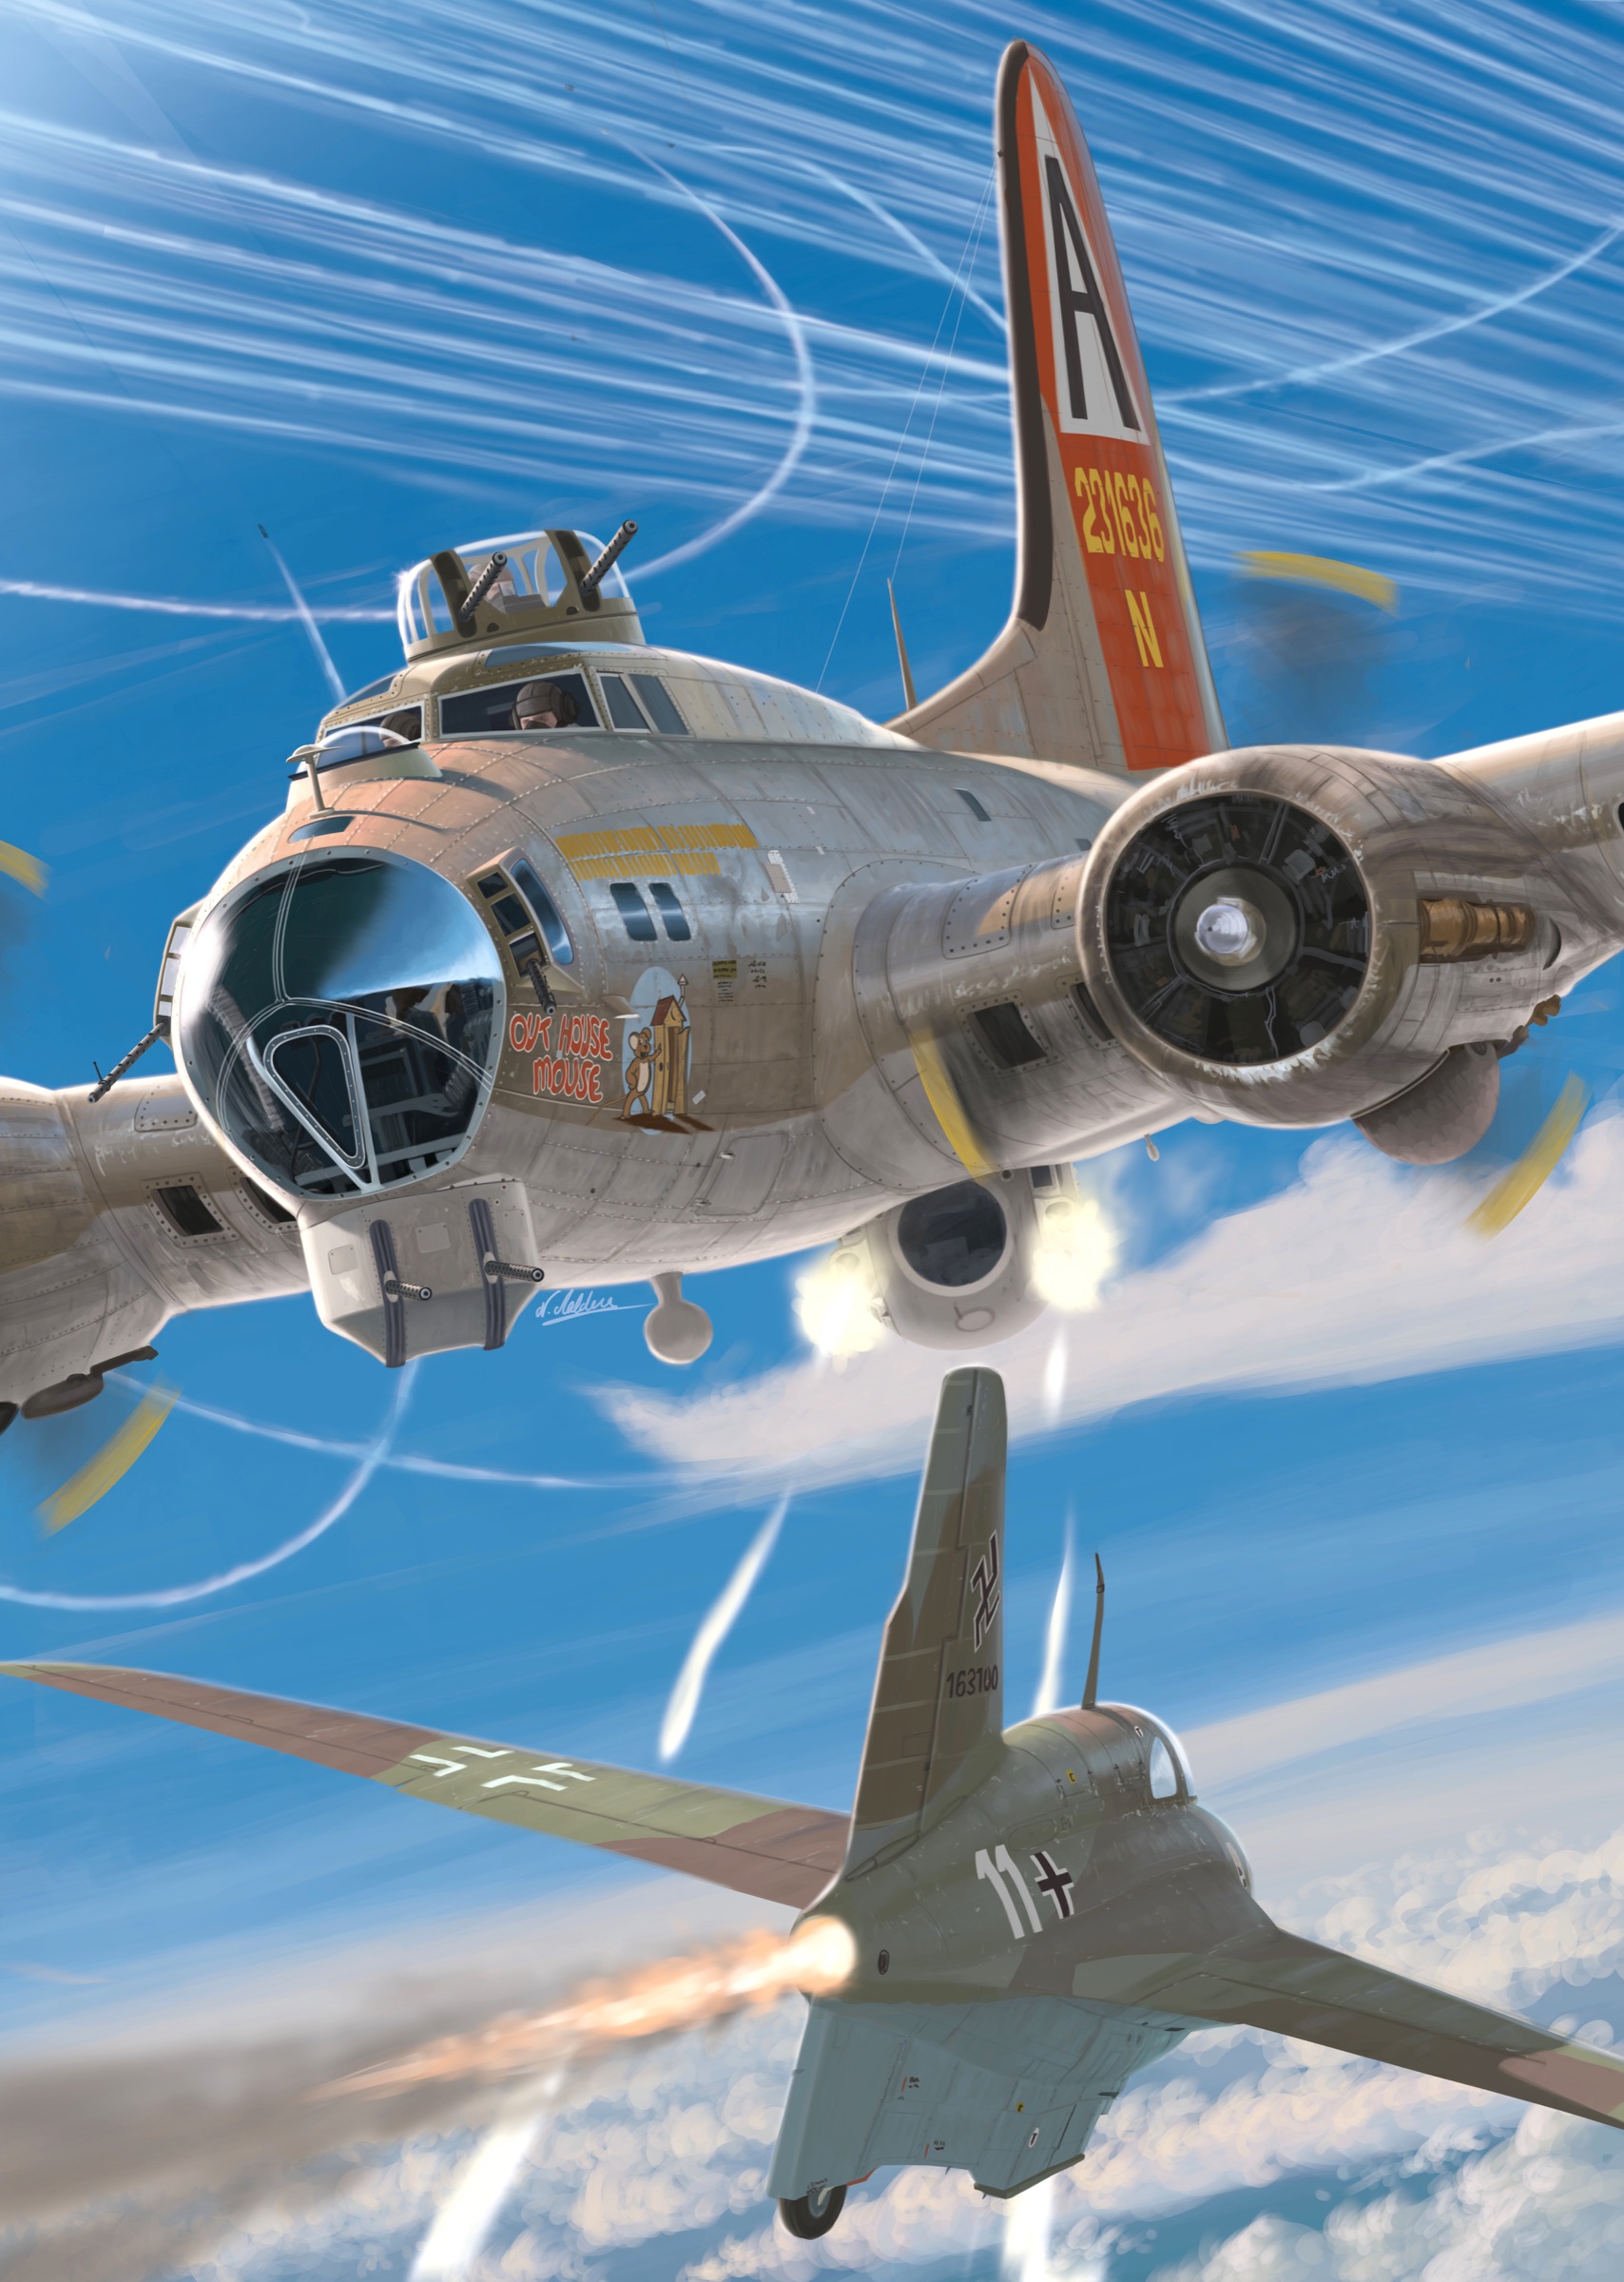
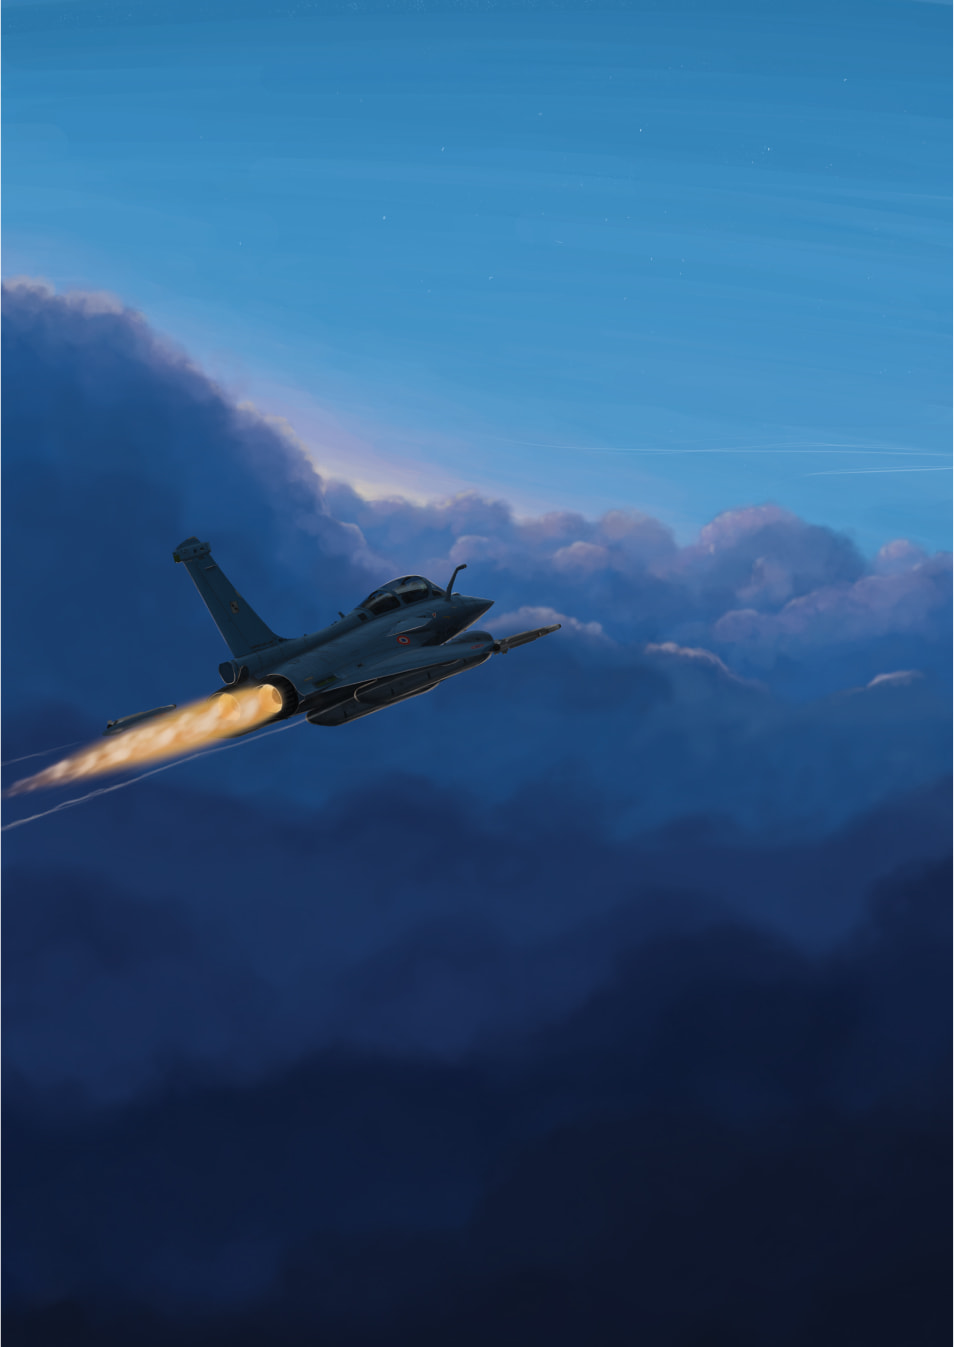
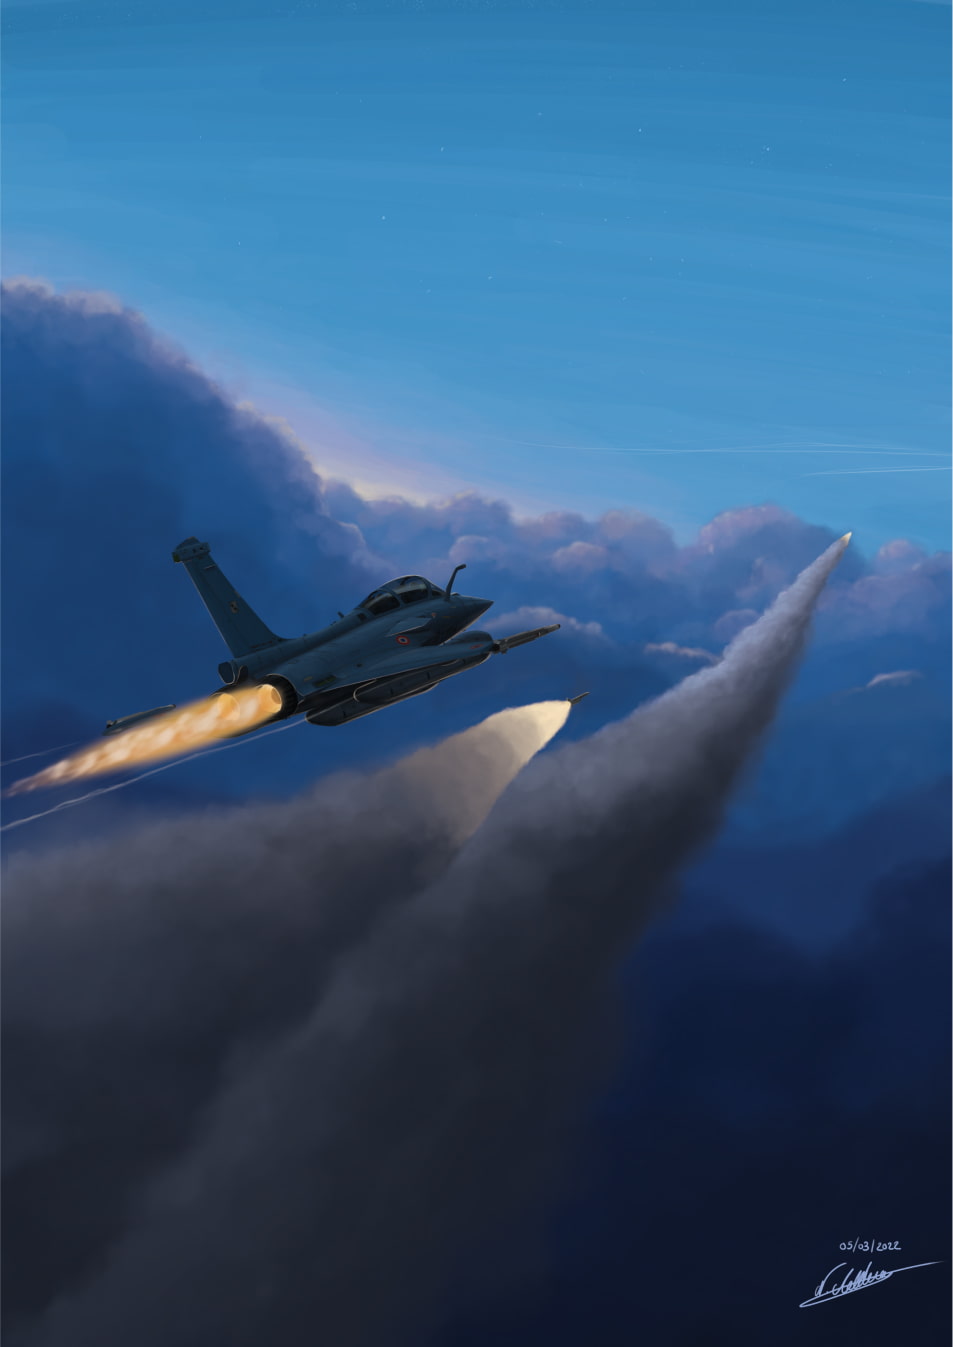
We then move on to the rendering phase, which involves texturing and weathering the surfaces, adding back lighting and, above all, adding details. I like to proceed using the same logic of weathering and detailing surfaces that I will follow in plastic model making. It is also here where the decorations, markings, logos, and various stencils that characterize each vehicle, nationality, affiliation unit, etc. are added. (3) This is a stage that I really enjoy because it is very satisfying: progress is visible very quickly, and the painting becomes a finished illustration that you can already imagine admiring and sharing. (4)
It is difficult to give a general rule about the time needed to complete an illustration, as this can vary greatly depending on the subject matter, particularly the complexity of the settings and environments. In general, an illustration takes around 25 hours of work, with the most complex ones taking up to 60 hours spread over several weeks if necessary.
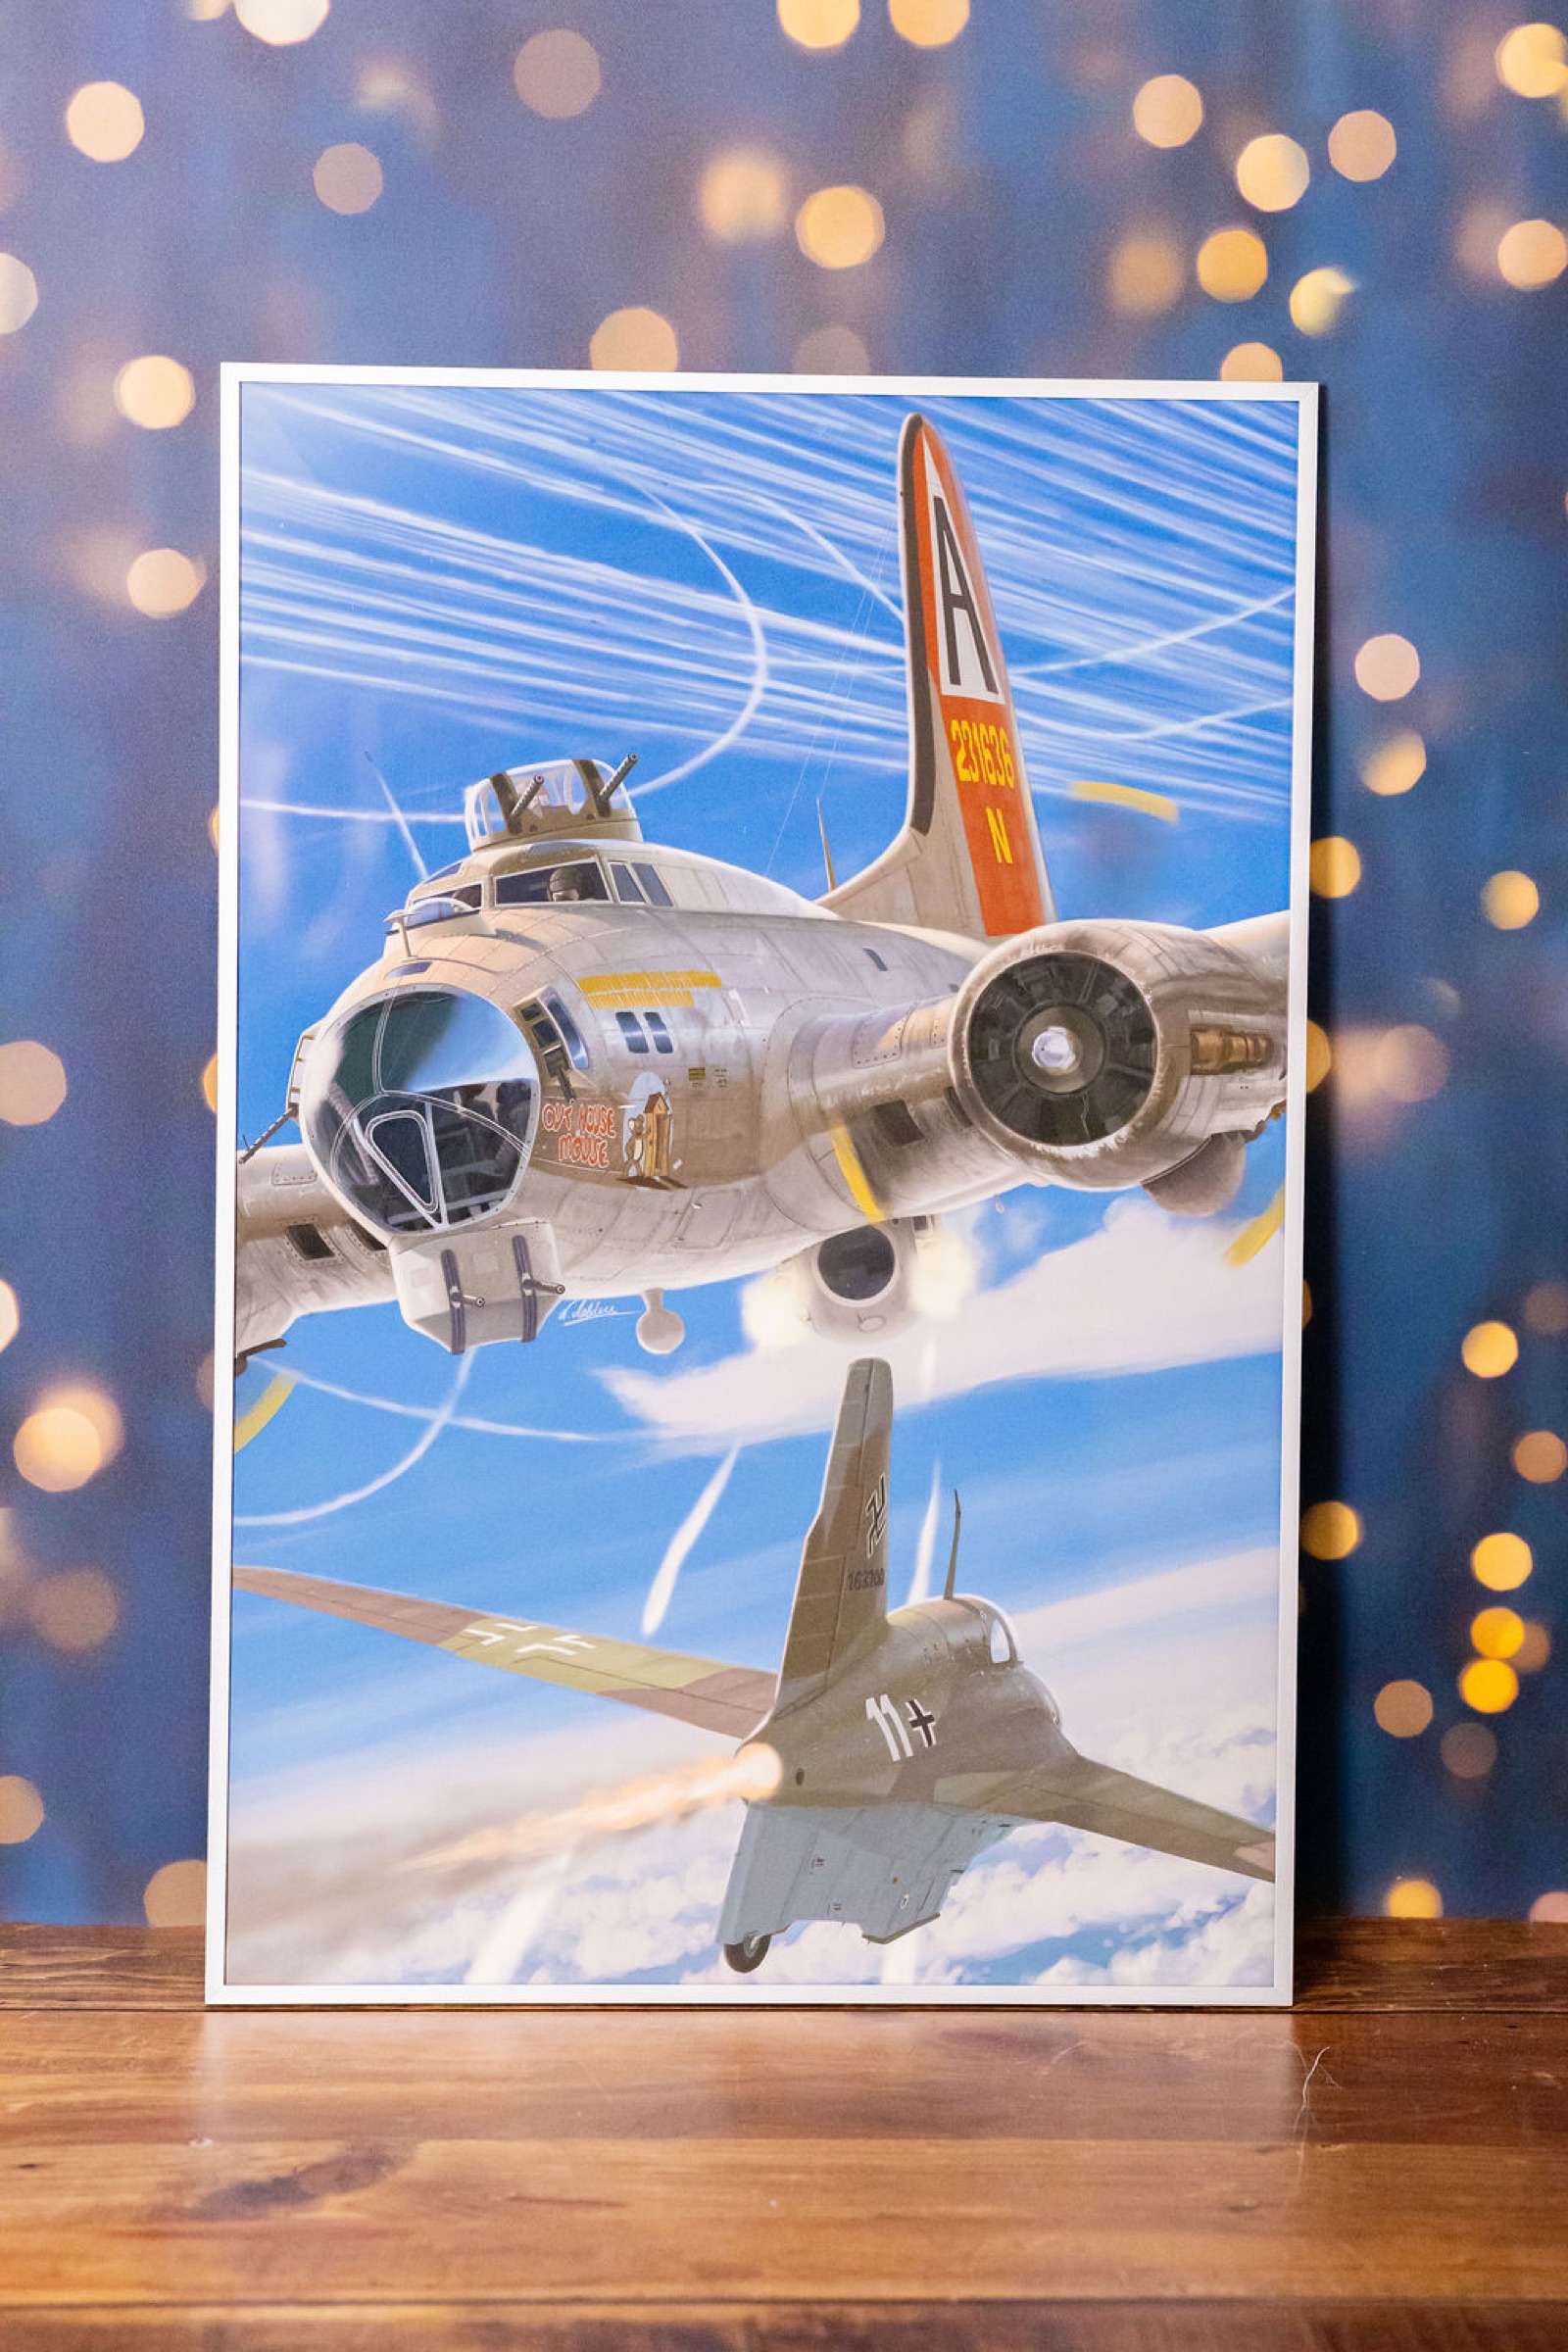
Once the painting is finished, it is time for publication or even printing, if necessary. In addition to sharing the new artwork on my social medias, I add it to my portfolio and often print them to prepare for sales of physical art prints, including the Versailles's Christmas market! (5)